fbpx

In this tutorial, I dig deep into a proxy workflow in Final Cut Pro X that took me years to understand and achieve. It all seems simple to me now, but I wanted to share this knowledge with you. This tutorial covers setting up the FCPX project, optimizing the media, encoding video files, batch renaming, testing the project, sending the project as a zip or sparse image, and receiving the project back from your editor. I hope that my desperation into finding a perfect proxy workflow for me is something that you can benefit from as well. This has sped up our editing workflow, turn around times, and most important (and why I did this) the quality of the edit. I can answer any of your questions about this Final Cut Pro X workflow down in the comments. ...

We at Aperina Studios, a wedding videography and wedding photography company, have recently been exploring with updating our underlying technology on how we store, backup, and archive our footage for our media business. Initially, we wanted to approach this with a more conservative method, but then we broadened our horizons and approached our new setup more liberally (with some very promising solutions). We thought that a new way of doing things can help make our wedding business a little bit more secure and future-proof, in terms of file storage. However, along the process, we discovered that we were wrong in many areas. Our end solution that we actually went with, is quite simple and may seem basic. But I wanted to address it as this information may be very beneficial to other wedding photographers or cinematography businesses who may be seeking similar solutions on how to store their wedding footage. Our original setup was fairly simply. Each computer (we have 3 workstation computers total) has either a RAID-0 (stripe raid) or Raid-5 (with failover) that is nightly backed up (a complete copy) to a Synology DS2415+ NAS. This setup is pretty basic and works 100%. The problems we slowly started facing over the years was storage capacity and sharing with multiple computers. So we started searching for an alternative technique. Read this post to learn moree about our in depth search for the perfect media storage solution for our wedding cinematography and photography business. ...

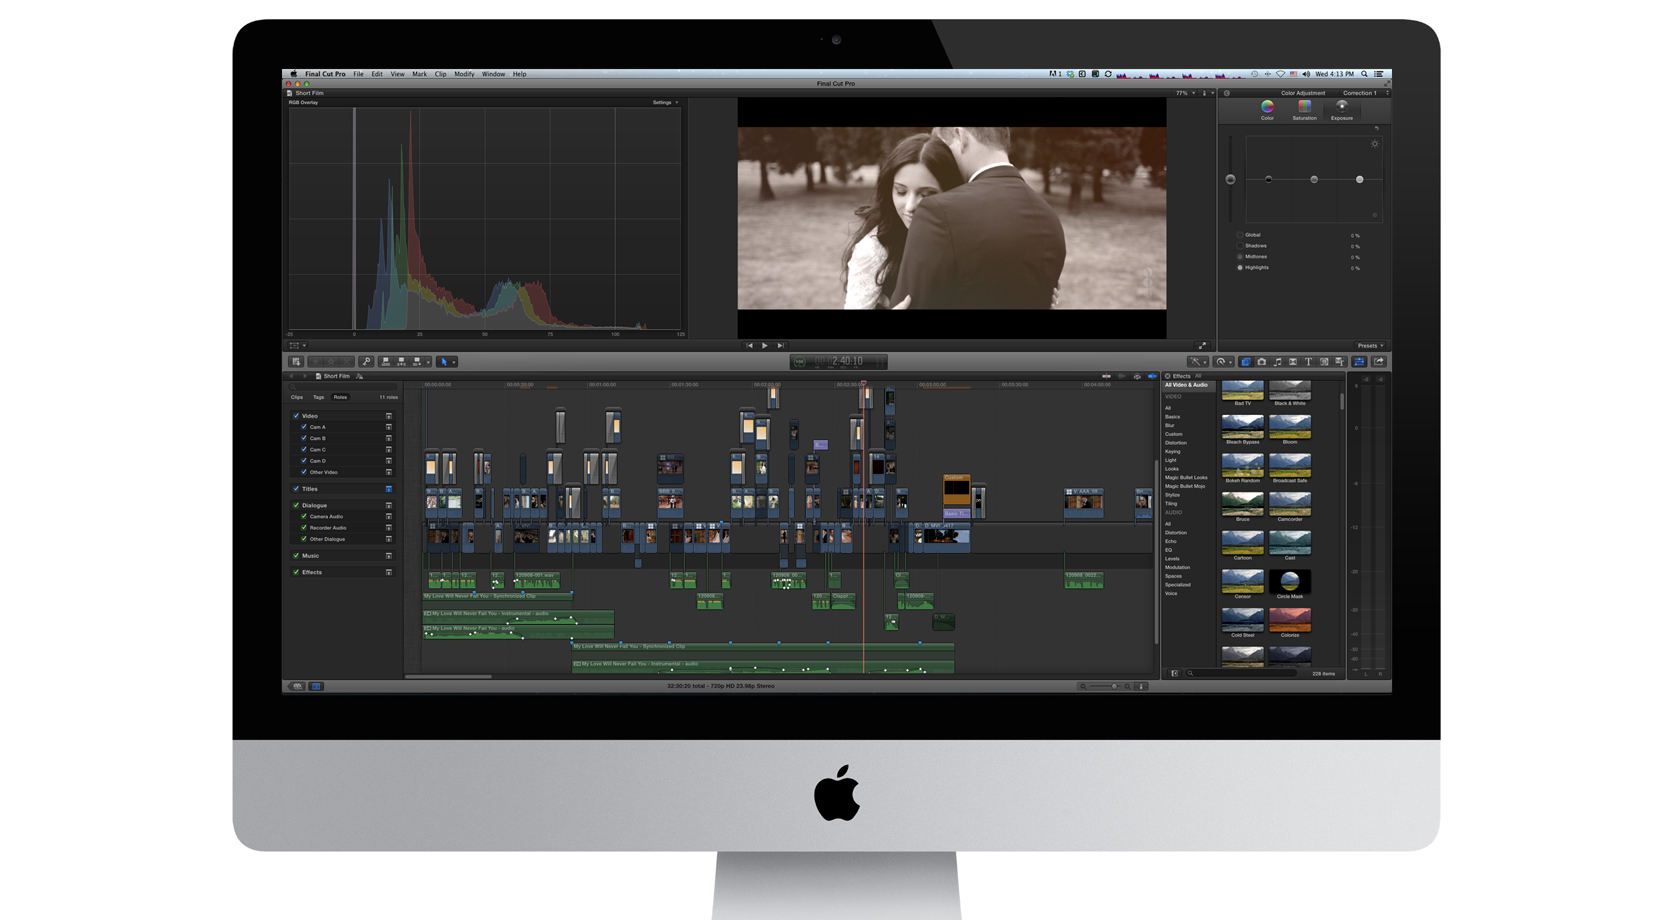
In this simple tutorial, I want to show you my workflow syncing multi-frame rate (24p, 30p & 60p) footage with Plural Eyes 3.5 and Final Cut Pro 10.3.4. You might wonder why I'm using old software to get my footage synced up, well, it's because it works. And the new updates with FCPX and Plural Eyes 4, they are not so great and I'm having a ton of issues. Plural Eyes 4 itself is a pain to use professionally (it's been dumbed down). So, how to sync footage with frame rates 24p, 30p and 60p together and make sure that it's 100% synced up in Final Cut Pro. The problem with Final Cut 10.4 and Plural Eyes 4, doing a straight basic sync in Plural Eyes will create issues where the footage is not in sync. Many times, the cameras are off by 5 frames, and sometimes as much as 15 frames. That is obviously a problem where we are editing long form edits. The longer the edit, the more out of sync the project will be. Watch the video above to get a quick run down, but I want to list a few important factors. Sync 24p and 48p footage in one Plural Eyes 3.5 Project. Export XML. Import in FCPX 10.3.4 (make sure it's version 10.3.4). This is important as using the new FCPX will cause errors when importing and will cause issues when relinking (mark my words). Sync 30p and 60p footage in a separate Plural Eyes 3.5 project. Make sure you are using the same audio for synching (if you are using one audio source to record) as you want to make sure the projects are the same lengths. Export XML. Import into FCPX 10.3.4 (the same library as the one above). Copy and paste each secondary story line (each camera) one by one. When copying, write down the timecode that the storyline begins on. Paste on the 24p timeline using the start timecode (sometime you have to convert to nearest frame, for example 58th frame is the same as 23rd frame). Be very careful here. Paste one camera at...

Having audio from your wedding is just as important as having video from your wedding. It's nice to look at you wedding video and hear beautiful background music, but having clean audio from your vows, speeches and other events assisting the video, takes your wedding video to another level and makes it into a professional wedding film. The extra attention we put on audio at each and every wedding, really helps our wedding films be on another level. Find out how we capture audio on your wedding to create emotional, cinematic and touching wedding films. ...

Have you ever had Apple Final Cut Pro X crash when it's being relinked? I have had that happen plenty of time. It's not pleasant, but most importantly, I as a wedding videographer, it wastes my time. I have a few editors that help me with my longer wedding documentary edits. I send them files and a project file, they edit the documentary edit, and I get the project back at the end. My job is now to check the project before exporting and uploading. But I've been running into issues of Final Cut Pro X crashing when I press relink. Here are a few things to note: We are both using the same exact footage. When relinking, the footage goes past the "validation" in FCPX successfully. BUT when I press "relink" - Final Cut Pro crashes. Restarting FCPX freezes it. And if I do have success, I am accompanied with some shots that are "black" and show up as "no data." This is the worst scenario. I have spent a lot of time trouble shooting this exact scenario and with trail and error, finally found a system (or workflow) that seems to have been working with FCPX 10.3.4 each and every time I run into this situation. The steps are simple. Watch the video if you want to be walked though the process, but like I said - it's simple. Open the FCPX project that requires relinking. Open the timeline that you need to relink. Select all of the footage (cmd+a) and copy it (cmd+c). Create a new Library. Let me repeat. Create a new Library (not an event). In the new FCPX Library, create a new project with the setting you need. Paste (cmd+v) on the new project (this will be pasting the copied timeline from the other un-relinked project). Once everything is on the timeline, you can now relink. Select the new FCPX Library, and go to File > Relink Files. You should have success (There are a few catches though, especially if you have multiple projects). This works really well with having one project.   My video does go a bit in...

This is a powerful time saver in FCPX. This "tiny" tip will save you countless hours while editing in FCPX. Simply sync all your camera and audio time to one time. You don't have to be 100% accurate, but the more accurate you are the better it is in the long run. This will help you a ton while editing and organizing your project. In the example provided here, you can see where have 2 different cameras (cameras P and Camera S - odd names, but they work). Note that the shots from that mini-session of the bride are right next to each other. And more importantly, event he shots that were filmed at the same time from multiple angles, they are next to each other. This helps me as and editor (who has also filmed this wedding), to really be able to see the available shots I have from a sequence of shots. It really allows me to be able to see the FULL spectrum of what we captured as a team and tell a perfect story. This works even better (the video details it a bit) when you have 2 cameras and an audio track. It really does save me a ton of time as I always get to see what is available for me in Final Cut Pro. ...

I've had a few friend ask me to make a Final Cut Pro 10 tutorial. So I decided to give it a try. Here is my first attempt at making a tutorial. So hopefully it's helpful. I will definitely be making a few more that are hopefully improved. This tutorial starts with my file organization/management setup that prepares the way for Final Cut Pro X and finishes with a FCPX project ready to start editing. Hope this helps answer some questions. Please comment if you have any questions (or if I missed some areas)....

In the past few months, I have spent a lot of time talking to many editors. I've noticed that there are many workflows that wedding videographers and cinematographers use while editing their wedding films. One thing that I found shocking was that many editors are prone to a disaster. A disaster where they lose ALL their files. All the footage from a wedding and all their hard work that they put into a film. How many times have you heard "my hard drive crashed?" I've heard it plenty of times. I have even had to say that myself a few times. Here is a typical scenario that I see with many editors. They have one hard drive that they store all the footage on and they simply start editing and hope that their hard drive doesn't crash. Once they are finished with the project, they simply erase all the files and they are done. There are so many risks involved with this scenario and I humbly want to teach you how to keep your wedding footage and project files safe and secure. I use a combination of Hard Drives, RIAD systems and cloud storage. Here is my workflow...